| 1. | Start the program (StandWise, PlanWise or RegWise) and select "New Project". |
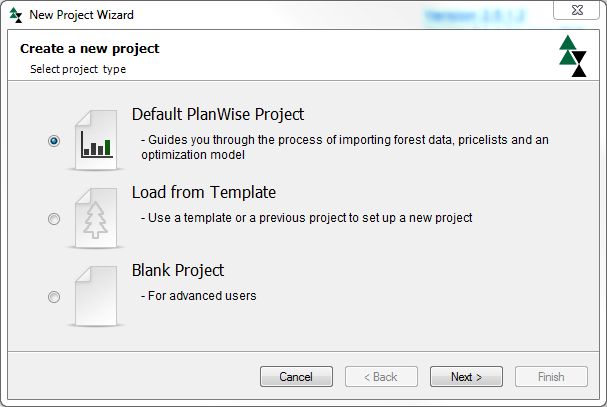
| 2. | Now the "New Project Wizard" is opened. Select for example PlanWise Project and then click Next. |
| 3. | Now the project name and database connection page is displayed. If you specify database names that do not exist on the SQL Server instance, they will be automatically created. |
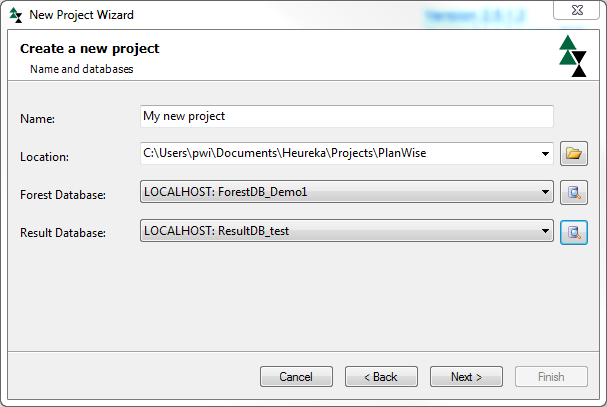
| 4. | Name the project in the name field. |
| 5. | Click the "Browse..."-button next to the edit box "Forest Database:". |
| 6. | Now the dialog "Database Connections" is opened. |
| 7. | As "Server", enter the name of the SQL Server where the forest database resides (1): |
| a. | Enter LOCALHOST\SQLEXPRESS when the database (server) has been installed locally on your computer and the free SQL Server version called SQL Server Express is used. |
| b. | Enter LOCALHOST if the database server has been installed locally on toy computer and you are using a commercial version of SQL Server |
| c. | Enter HEUREKA2-1.SLU.SE if you are going to (and are allowed to) connect to the Heureka-server. |
| d. | Enter another database server name (servernamn.mycompany.com) if you for example work at an organisation that has its own server on which Heureka-data is stored. |
| e. | I the field "Database"-field (2), enter the name of the database where the input data is or will be placed. For example: |
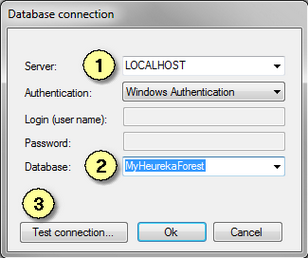
Figure 2.
| 8. | Click Test Connection to check that the connection exists (3). If the forest database does not exist, you will be asked if you want to create it (see Create database). |
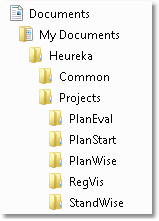
| 10. | Repeat steps 5-8 for the result database. This is mandatory in PlanWise and RegWise, and optional in StandWise. You can have the result database on a different database server than the forest database (see step 7). It is usually a good idea to have the result database on a local database server, since the amount of result data can be very large. |
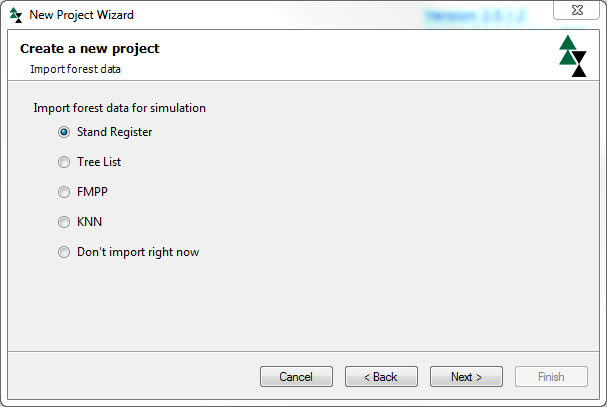
| 11. | Click on Next in the wizard. Now you can choose to import data in addition to those that may already exists in the database. You can also choose not to import any data at his point. Depending on selection, a form may open to complete the data import. |
| 13. | Finish the guide when you have completed the last page by clicking on Finish. |
|
 Swedish